

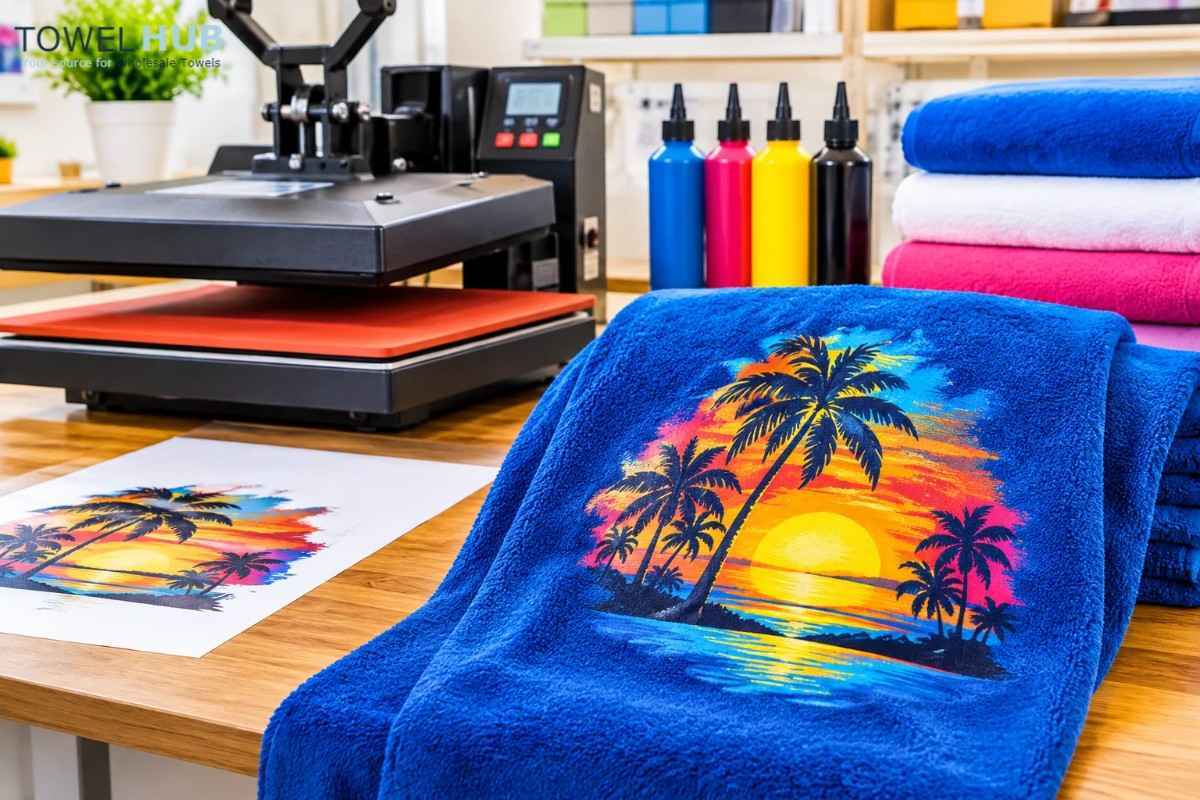
DTF – Design is printed onto clear PET Film. The transfer is then heated so that the hot melt powder fuses with the wet ink. The hot melt fuses the transfer to the fabric. As the hot melt sticks to cotton it can be used with 100% cotton without any pre-treatment. Where sublimation can only fuse to polyester.
Velour towels are created using terry cloth. One side is cut so that the loops are short & smooth creating a soft velvety feel. The reverse has loops so that it can still soak up water. As the DTF film prints whatever is underneath it will create a textured print on the terry loops but a crisp print on the velour.
Tools And Supplies Checklist
Make sure you have all your tools ready as if you leave it too long the towel will start to absorb moisture again.
- DTF printer with RIP software, PET Film & Hot Melt Powder or pre-pressed transfers.
- Curing Oven or DTF dryer.
- Heat press & IR thermometer.
- Lint roller & Heat Resistant Tape.
- Teflon Sheet or Parchment Paper.
- Pillow or Foam Pad.
- 100% Cotton Velour Towel Blanks.
Making The DTF Transfer
If you are using pre-pressed transfers you can jump right to preparing your towels.
Prepare The Artwork
The design should be a high resolution PNG (300dpi) which is the correct size for printing. Your corner logo should be 3-4inches wide. This is great for fingertip towels or a 15x18 tri-fold golf towel which can be clipped onto bags. Centre designs work well on hand towels or larger golf towels. These should be 6-10inches wide. Make sure your design is at least 1inch from the hem & add some weight to hairline strokes. Very detailed designs will lose their crispness on any type of pile.
Print And Powder The Film
Your colours will be printed first using the RIP software. White will be added to create a base for the transfer to fuse to. This is why DTF can be brightly coloured on navy/black velours. Most RIP programmes will automatically flip your image. Make sure this is enabled.
Once the ink is still wet, dust the entire design with hot melt powder. Shake off any excess so that only the inked areas have powder on them.
Cure And Store The Transfer
Melt the powder using the curing oven or dryer. It should become smooth & shiny with a slight orange peel effect. If it is still quite grainy then it hasn’t been cured enough. Curing temperatures will depend on what brand of hot melt you have. Many ovens have a temperature range of between 230-300F (110-150C) for 2-3minutes. Always refer to the sheet from the powder manufacturer. Once cooled, store your film flat in a cool dry place.
Preparing Velour Towels For The Press
Pick And Clean The Velour Face
The smooth side of the velour should be used for printing. Use a lint roller to remove any lint which would cause lumps or patches. 16x26 white hand towels (100% cotton) are great for centred designs as they create a large even area to print.
Level The Hem
Place your towel flat & make sure the hem is even with the edge of the platen. If there is a thick hem or dobby border underneath the design area then the platen will sit on this causing the centre of the design to be lightly pressed. To combat this place your pillow/foam underneath the design area.
Pre-Press Until The Steam Stops
Pre-press your towel for 5-10 seconds. Cotton towels will soak up much more moisture than a T-shirt. This is a key reason why transfers won’t fuse. The moisture will turn into steam under the heat causing the hot melt to be pushed away from the fibres. If you see steam when opening the press then press again until there is none.
Pressing The Transfer Onto Velour Towels
Position And Cover The Film
Place your transfer film face down so that the adhesive is facing down onto the velour surface. Tape the corners with heat resistant tape so it doesn’t move when you press. Place a Teflon sheet or parchment paper over the top.
Set Temperature, Time And Pressure
You can start by pressing the transfer at 300-325 degrees (149-163C), medium firm to firm pressure. Press for 12-20 seconds. Velour towels will take slightly longer than clothing due to extra fabric between the platens.
Check the temperature of your platen in the middle and corners with an IR thermometer, the heat may not be what you expect from the dial. If your transfer supplier states specific settings then follow these. I go into further detail on settings and issues below in the next blog of this series.
Peel The Film Correctly
Peel the transfer as intended. If using a hot peel transfer, once you open the press you can peel the transfer away within seconds. If you are using a cold peel transfer, wait for it to fully cool otherwise the print will come away with it. Peel slowly, keeping the transfer as low and flat as possible. If any of the corners begin to lift, place back down and press for a few more seconds.
Finish With A Second Press
Place a layer of parchment paper over the exposed print and press for 5-10 seconds. This helps to push the ink further into the pile, making it more durable to wash and gives a softer sheen. Golf towels in pro shops are constantly wiped, dunked and washed so it’s important they are durable. See here to see how golf clubs turn towels into merchandise.
Aftercare For DTF Printed Velour Towels
Even with a perfect press, your towel can still go wrong if you don’t wash it correctly. Please follow the following steps:
- Leave for a minimum of 24 hours.
- Wash in cold or warm water with a gentle detergent.
- Do not use bleach. Don’t use fabric softener as this will reduce the absorbency of the towels.
- Tumble dry on low or line dry.
- Don’t iron directly onto the print.
For general cotton care, see here for more information on the temperature and drying.
Quality Checklist Before Every Order Ships
- Velour surface used and lint removed.
- Pre-pressed so no steam appears.
- Platen temperature checked with an IR thermometer.
- Even pressure applied to design. Pillow used for heavy hems.
- Correct peeling method used.
- Second press done with parchment paper.
Choosing The Right Blank For DTF
All of the above steps will give the best results on a flat, heat resistant 100% cotton surface. Look for a dense, even velour surface. Flat hems and uniform weight across a dozen. If the shear isn’t even or the hems are wavy, this will work against the press. We have a range of terry velour towels, fingertip, hand, golf and beach sizes.
Frequently Asked Questions
Can You DTF Print On 100% Cotton Towels?
Yes. As there's an adhesive in DTF you don't need to pre-treat cotton. The best results will be achieved by printing on the sheared velour side of the towel as the film will lay flat.
What Temperature Should I Print DTF?
Start with temperatures between 300-325F (149-163C). Press for 12-20 seconds using medium-hard pressure. Ensure the correct temperature by using an IR thermometer on the platen.
Is DTF Or Sublimation Better For Velour Towels?
As sublimation dyes only bond with polyester it works best with polyester blanks. As the towels are 100% cotton velour, DTF would be the best option as it doesn't require the fabric to hold onto the colour.
Why Is My DTF Coming Off My Towel?
The most common reasons for DTF coming off are wet towels, uneven pressure from thick hems, low platen temperature, under-curing the powder or the cold peel film peeling off whilst warm.
How Long Will DTF Last On My Towel?
This will depend on the transfer used, cure, press and how it's cared for. Many transfers have a durability rating of around 50 washes when used correctly.
Ready To Print Your Next Towel Order
Getting clean DTF prints on towels is about preparing them correctly. Print on the velour side, remove any moisture, ensure the hem is even, and double press.
Order your blank 100% cotton terry velour towels from TowelHub. We have stock available to ship the same or next business day from Atlanta, GA. Most styles have a minimum order of one dozen. Order a sample dozen now to get your settings sorted before busy times!